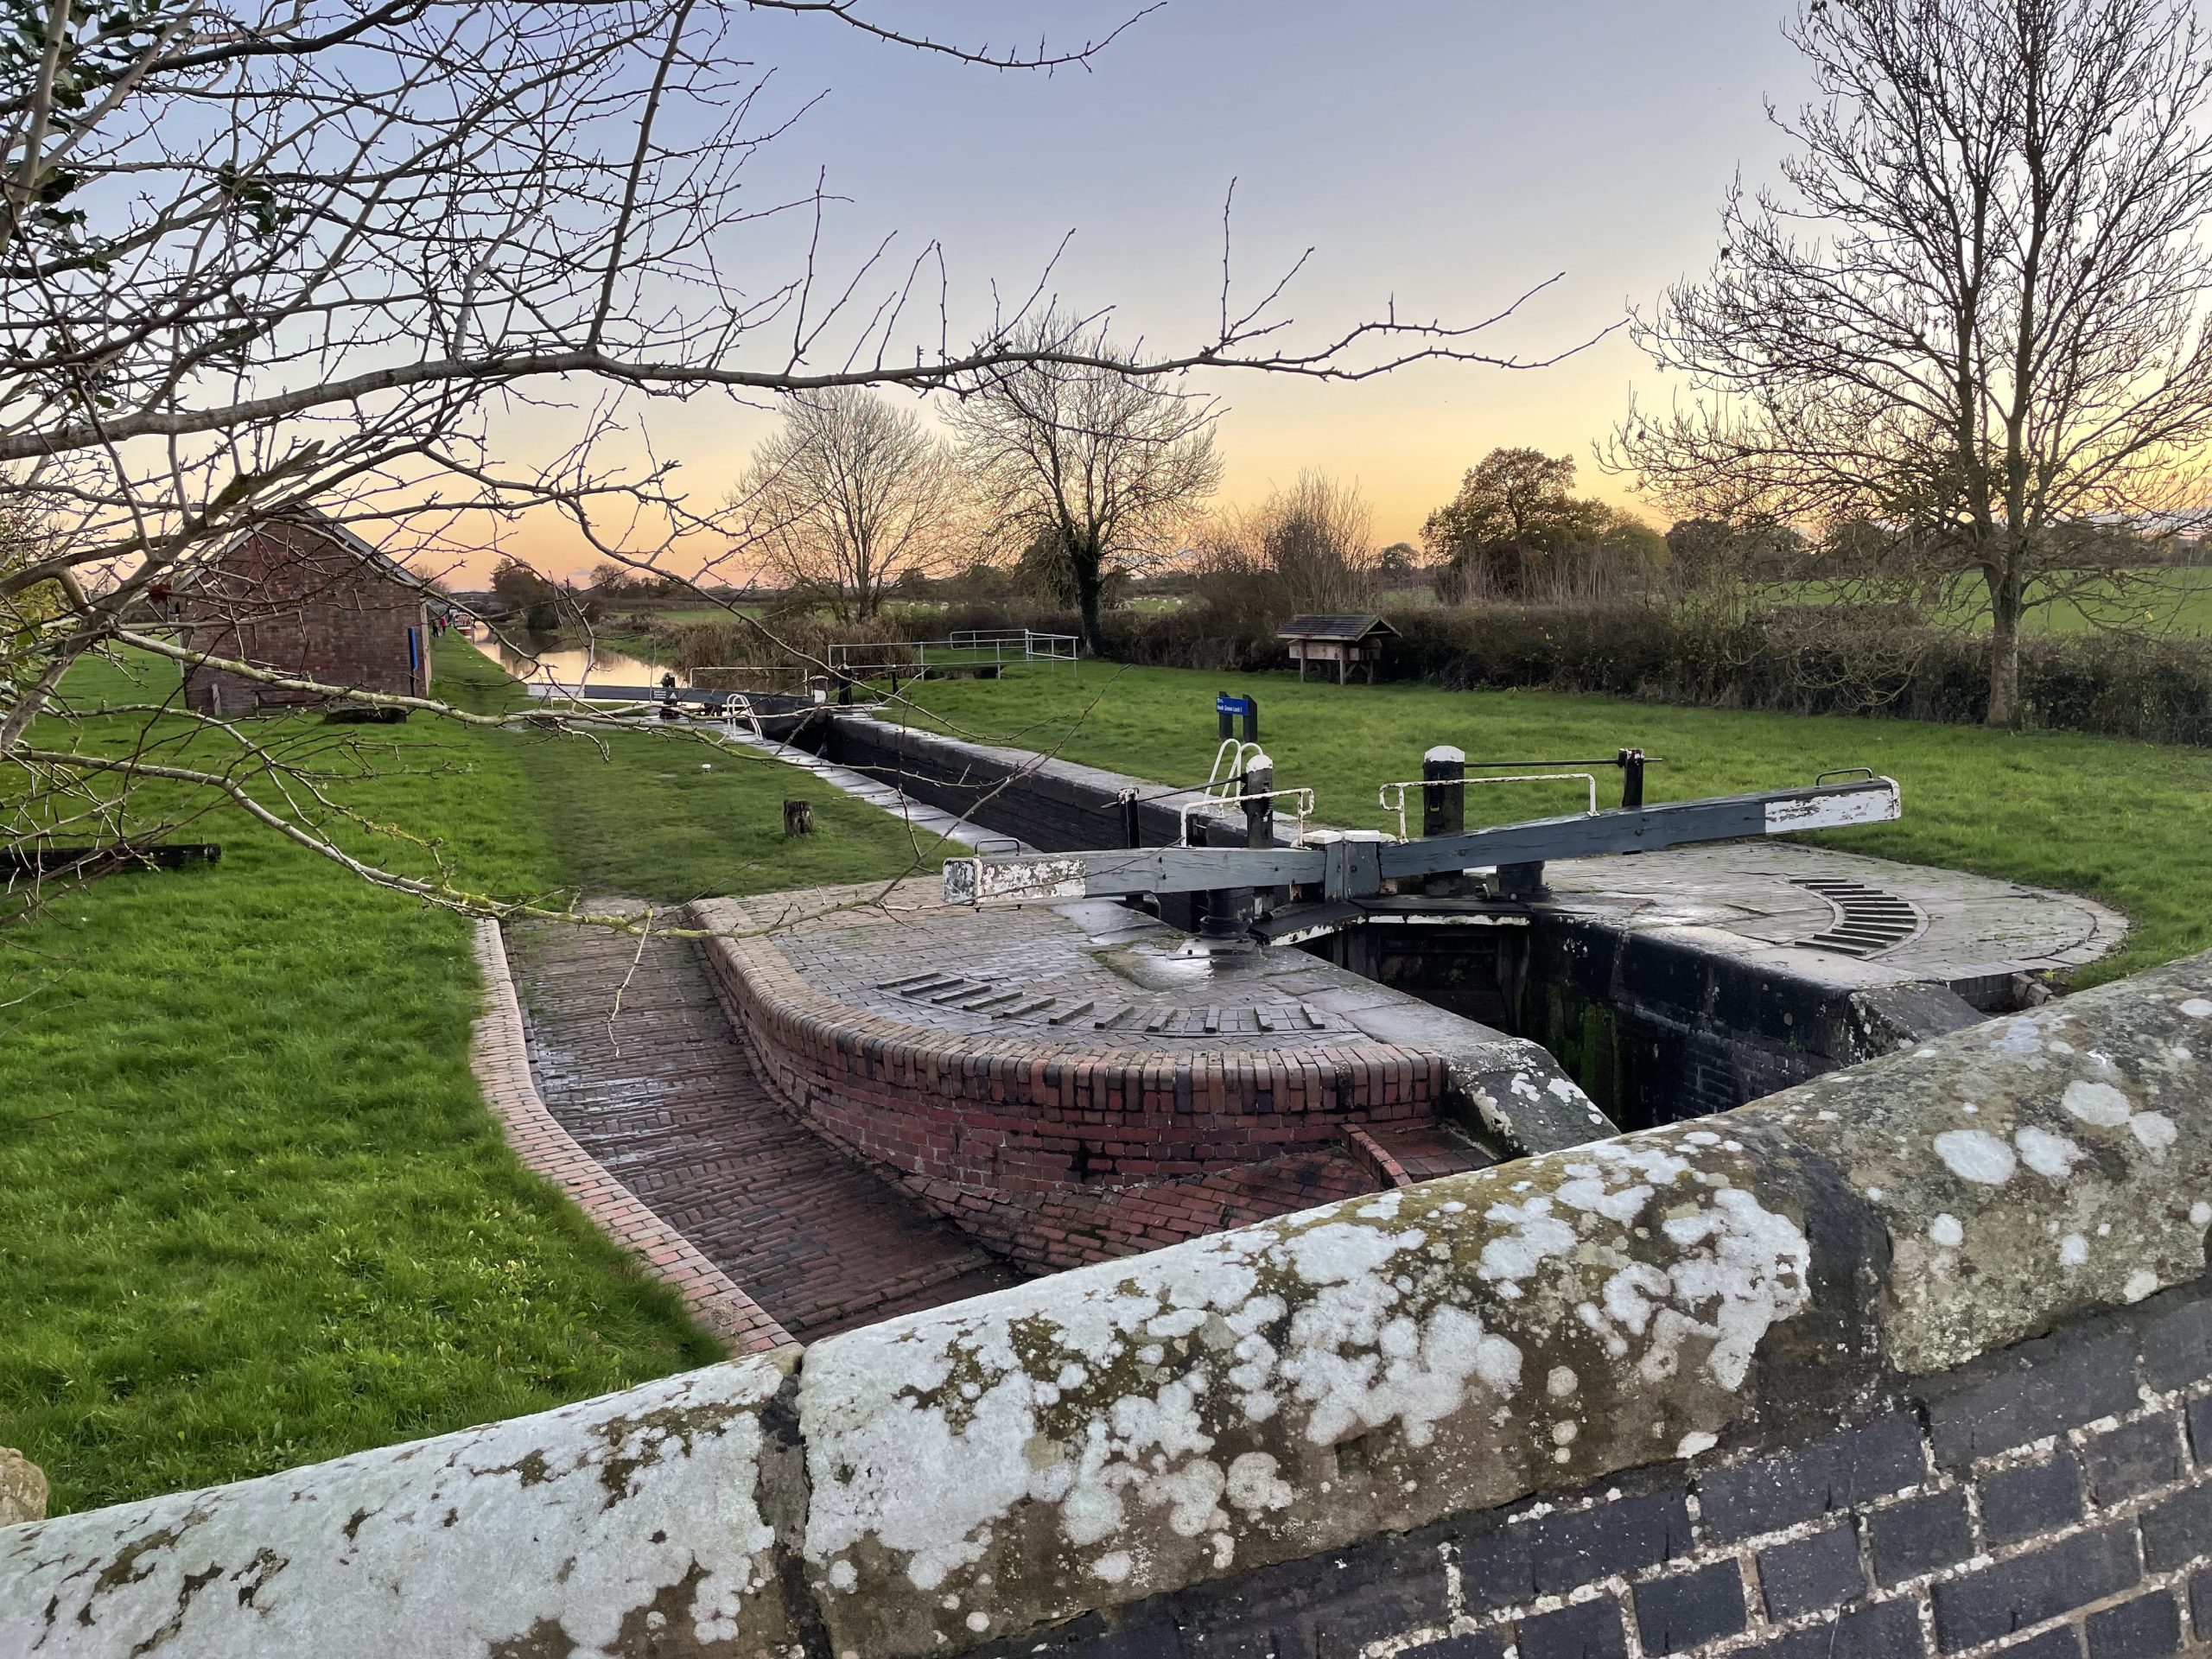
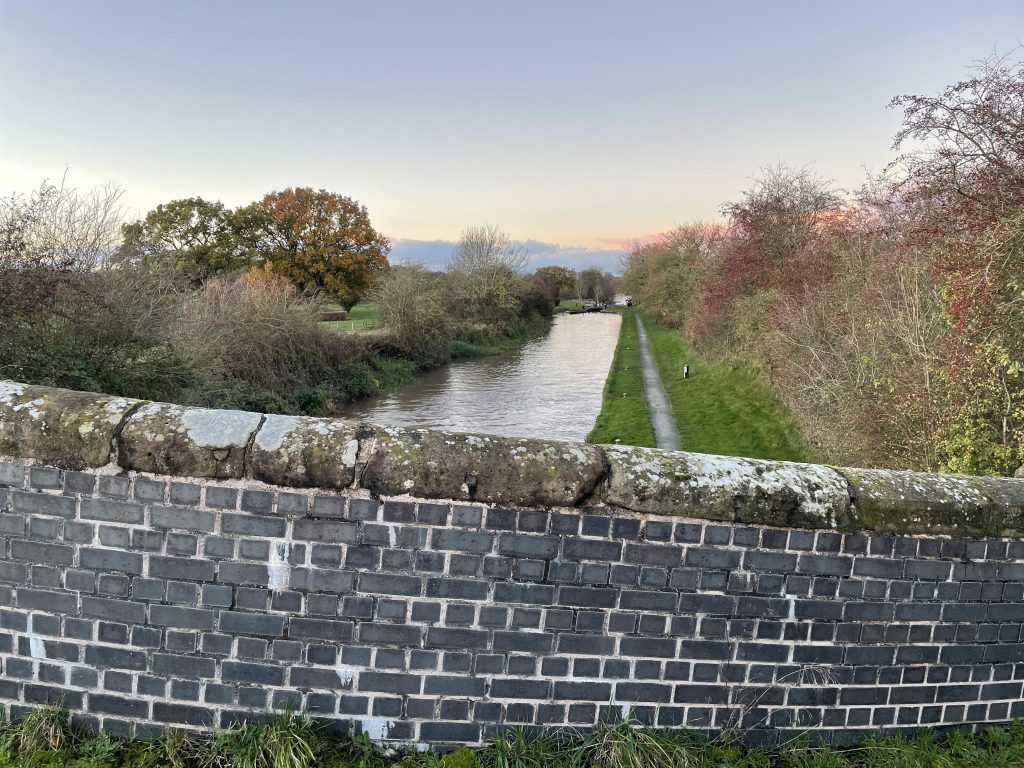
A stroll along the canal is a regular part of many a Dabber’s routine. Ideal for walking the dog or just getting your steps in, the canal strikes out North and South from Nantwich into South Cheshire’s patchwork of peaceful green fields. Surrounded by the ever-present dairy cow, a walk along the canal is punctuated by many bridge crossings for roads, railways and farm access tracks. It was here on these isolated intersections where Victorian industrial innovation faced up to the threat of 20th Century industrial warfare and the German Blitzkrieg.
Defence of the Realm
In 1940, Britain stood alone against the seemingly unstoppable German advance through Europe. France was now occupied and the British Army was forced to retreat back across the English Channel. Hitler and his generals made plans to invade Britain, hoping to take her out of the war all together, allowing them to focus on their domination of the continent.
We shall defend our Island, whatever the cost may be, we shall fight on the beaches, we shall fight on the landing grounds, we shall fight in the fields and in the streets, we shall fight in the hills; we shall never surrender.
Winston CHurchill, House of Commons, 4th June 1940
By September 1940, in a frenzied attempt to fortify the country, some 18,000 individual defences of various kinds were prepared, falling into three broad categories;
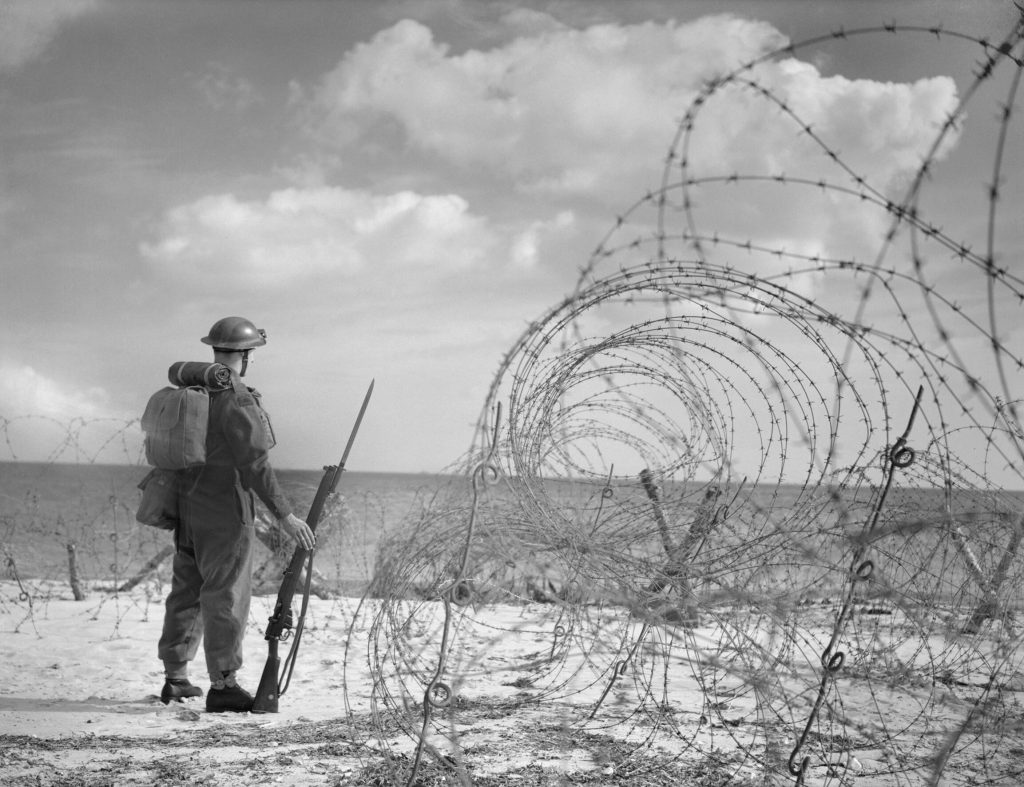
The coastal crust – A network of defences along beaches and other potential landing sites formed the first line of defence including barbed wire, anti-tank obstacles and minefields to hamper an amphibious invasion, all overlooked by gun emplacements and spotlights. Some coastal areas were flooded or preparations made to be flooded in case of invasion to form another barrier. Seaside piers were blocked or dismantled to prevent their use as landing places for the enemy. Small islands and peninsulas were fortified to protect harbours and other places which may have been useful to an invading force.
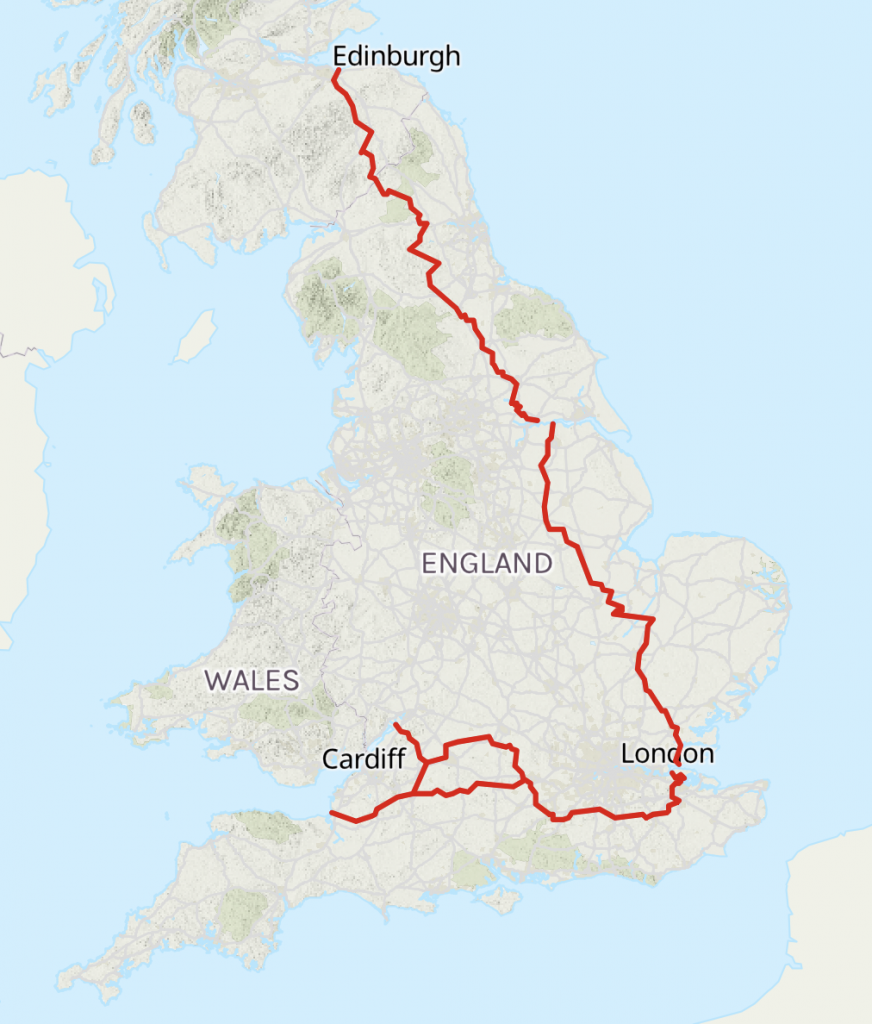
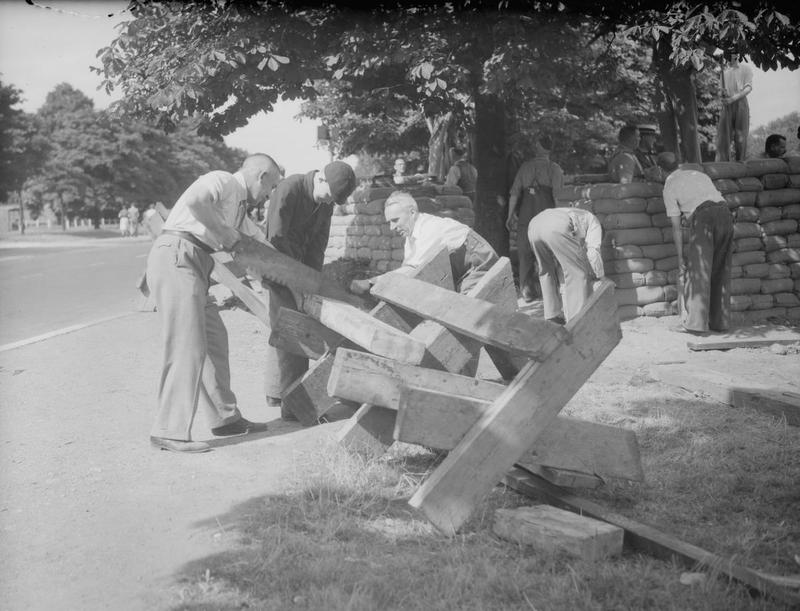
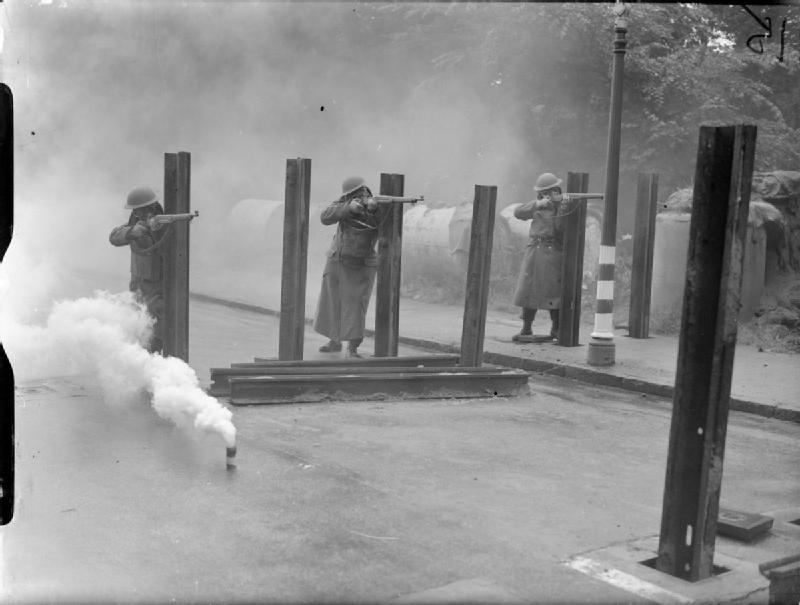
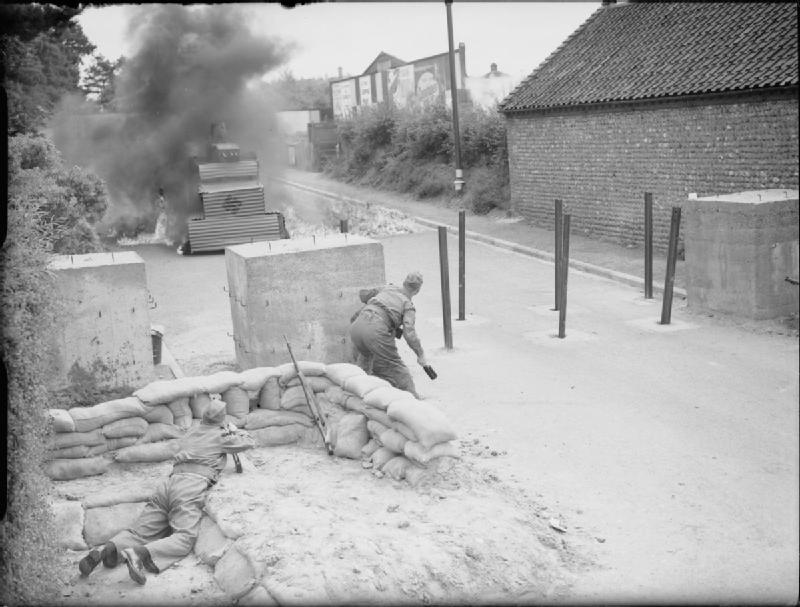
The GHQ Stop line – Initially defensive positions were drawn up to act as ‘Stop Lines’ to impede the German advance should the invaders succeeded in securing a beachhead on the British mainland. More than 50 lines were organised across the country to form strategic barriers defending cities and other important sites. The most important of these stop lines was the General Headquarters Stop Line. The full plan was to form a defensive line following existing barriers both natural and man-made such as rivers, canals, railway embankments or areas of thick woodland where possible. In some areas, fields were flooded to make an impassable obstacle for motorised vehicles. In others, long stretches of ditches were dug to make progress difficult for tanks and other vehicles. Where needed, man-made obstacles such as reinforced concrete blocks and steel posts were used to form a barrier on weak points such as bridges, tunnels or road junctions. These could be moved into place quickly if an invasion was imminent so as not to hamper the movement of the British defenders reacting to an attack. The line was strengthened with the building of thousands of gun emplacements, called pill-boxes owing to their shape. On the section running through Essex, over 400 of these pill-boxes were built.
Secondary stop lines – More localised defences formed the third category. Like the GHQ stop line, secondary lines were organised along existing barriers and were defended with pill boxes and other fighting positions close to bridges and other weak points. These were known as nodes or points of resistance. The most important of these would be guarded by regular troops but most would be manned by The Home Guard (Local Defence Volunteers).
Western Command Stop Line No. 8
Back to our canal bridges near to Nantwich. They were nodes on the secondary stop line known as Western Command Stop Line No. 8 which ran from Shrewsbury along the canal, East to Newport (Shrops.) and then North through Market Drayton, Audlem and onto Nantwich, finally ending at the Mersey. There are three bridges to the South of Nantwich which still have evidence of the defences that were placed there as part of the stop line:
Austin’s Bridge (83), Mickley Bridge (84) & Hack Green Bridge (86). We can assume than Bridge 85 at French Lane also had some form of defences but these are no longer evident probably due to the road being resurfaced in the intervening years. Where remains are still in place, the concrete blocks set into the surface of the bridge can still be seen forming two rows of three. The holes in the blocks which received the vertical posts are also visible.

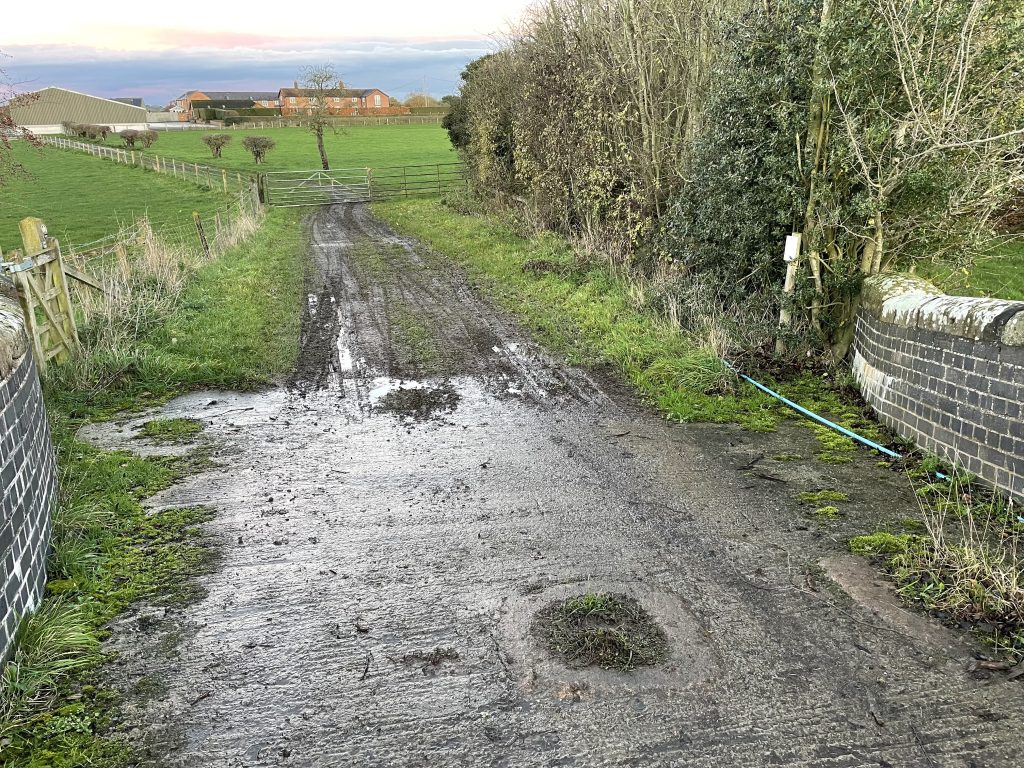
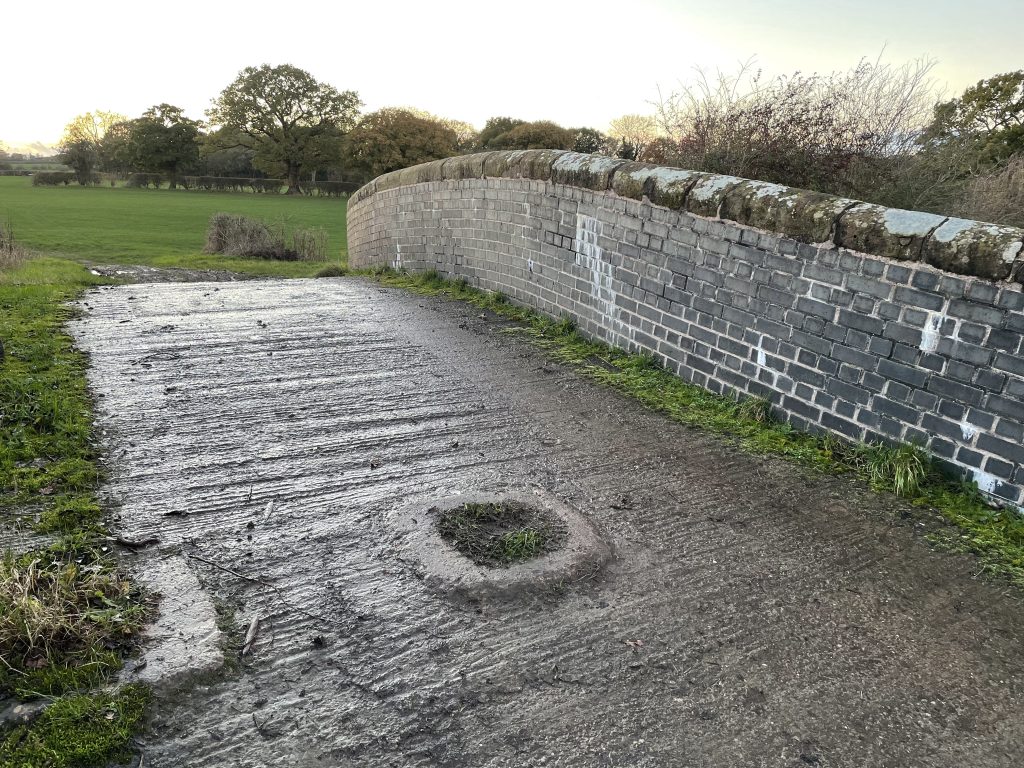
It’s likely that the relics of 1940 and the rush to prepare Britain for invasion remain here only because they are on isolated bridges which are only used by farmers. On other routes, such as French Lane (85) there are no traces.
Changing strategies
Soon after the initial rush to prepare defensive lines, thinking changed regarding the best way to prepare. A more flexible approach became the central aim of planners, with anti-tank ‘islands’, strongly defended positions which were capable of taking out armoured columns rather than continuous lines of physical defences.
As 1940 went on and the Luftwaffe failed to gain air superiority over Southern England, the threat of invasion was essentially gone. The Germans pivoted to the Eastern front and launched their ill-fated attack on the Soviets.
Now these three out-of-the-way bridges crossing the Shropshire Union Canal provide us with a small reminder of those months in 1940 when Britain prepared for what must have seemed at the time like an inevitable invasion by the Nazis, riding high from a string of victories on the continent.
Sources
https://en.wikipedia.org/wiki/GHQ_Line
https://en.wikipedia.org/wiki/British_hardened_field_defences_of_World_War_II
http://www.pillbox-study-group.org.uk/stoplines-some-tactical-notes/
https://edob.mattaldred.com/map/S0000213
https://edob.mattaldred.com/map/S0000212
https://edob.mattaldred.com/map/S0000208